So you’ve decided to publish an eBook on Amazon’s Kindle Direct Publishing (KDP) platform. You’ve got a cover, you’ve edited the sh*t out of your book, and you’ve pulled together a manuscript. Congratulations!! You are so close to publishing! Now, you just need to format it properly so you can upload to KDP. If you have questions about any of the previous steps, check out the first five posts in my self-publishing series. In this post, I talk about getting your eBook formatted for upload to KDP!
Formatting Your eBook
There are two main ways to format your eBook for KDP: using the Kindle Create tool or formatting in Microsoft Word.
Kindle Create
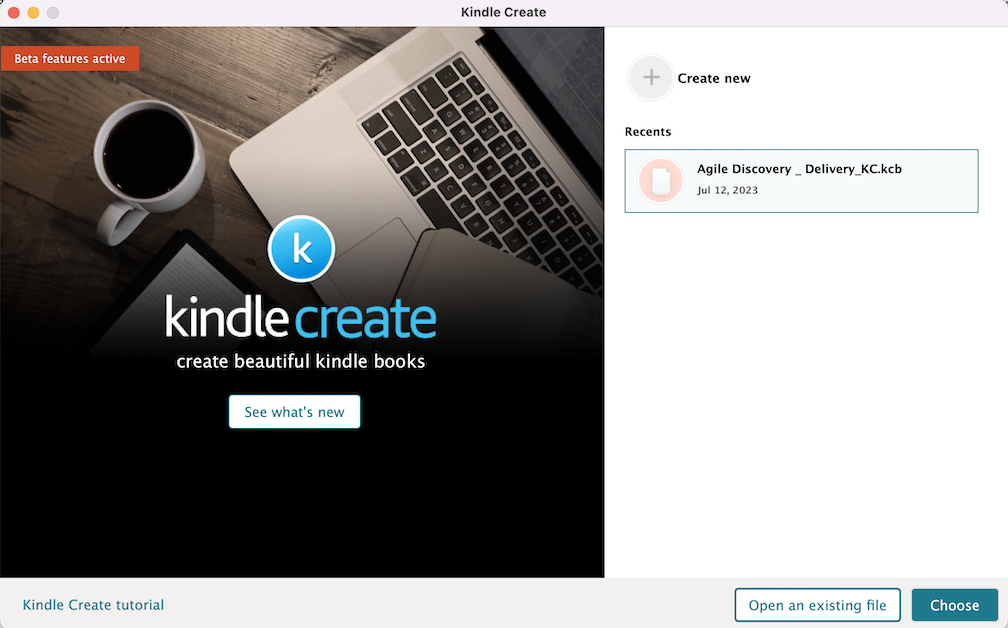
Kindle Create is a tool you download to your PC or Mac and it made formatting my eBook fairly pain-free. You can find detailed formatting instructions and a link to install Kindle Create here. I also found this article by Clyde D’Souza incredibly helpful along the way. Unlike formatting a paperback or hardcover version, in my opinion, eBook formatting was a lot easier. You don’t need page numbers, headers, a pre-made Table of Contents, or anything else. Since eBook text can be enlarged or minimized, you simply have to get the contents of your book uploaded in the right order, do a little styling, include images and hyperlinks, then you’ll be ready to publish!
What’s Involved in Final Formatting?
If you’re ready to do this, I recommend clicking on that first link in the paragraph above and following the instructions step-by-step. If you’re just looking to get a sense of what’s involved, read on. First, writers must install Kindle Create. Once installed, authors upload an “unstylized” version of their manuscript in Word and upload that into Kindle Create. This manuscript doesn’t include any of your front or back matter yet. KDP gives you an example manuscript from Pride & Prejudice that you can use as a reference. Upload a similar copy of your manuscript, find your chapters, and Kindle Create will stylize them for you. You’ll be able to choose an overall book style later in the process.
For what it’s worth, this first step actually surprised me. I’d pulled together a manuscript at this point with stylized chapters and subheadings, complete with front & back matter. If you’ve already done that too, hold onto that manuscript version. You’ll reference it throughout this process and you’ll want it for your paperback & hardcover submissions.
Via Kindle Create, add all of your front matter pages like the Title Page and Table of Contents. Then, you’ll stylize your chapter pages, perhaps adding a drop cap or a new font. Kindle Create offers several styles to choose from at this point. Pick your favorite and suddenly your book starts to look a lot more like a real eBook. (I got pretty excited at this point!)
Now is the time to insert and format all of your images. (Make sure you have the proper permission to use all of your content. Read more about getting permission here.)
Next, eBooks are unique in that you can and should include hyperlinks throughout the text. This is probably the part that took me the longest. If you write a blog, you’re already used to adding hyperlinks to references or other useful sites. But, if you’re writing a book, you likely included those links in your bibliography section. Now is the time to go back and include them in the right spots in the text.
Finally, add the back matter and your eBook manuscript is ready! Kindle Create allows you to preview your book in a Kindle simulator. This is the best part! You’re about to see your book as readers would see it. Page through every single page using the various device simulators Kindle Create provides (phone, tablet, Kindle e-reader). If you like what you see, export it. The export creates a publishable file that you’ll upload in KDP along with your cover. Your book manuscript is ready to publish!
Microsoft Word
You can also format your manuscript completely in Microsoft Word. I ended up doing this for my paperback and hardcover versions, but for the eBook, I used Kindle Create — it was simply way easier. Follow the steps here to format your manuscript in Microsoft Word. That article walks you through indents, spacing, formatting, hyperlinks, page breaks, footnotes and potential errors. At the end, there is a tool called Kindle Previewer that allows you to preview your manuscript just like you could via Kindle Create. If you’re a Word whiz, this may be the way to go. Again, I found using Kindle Create to be a breeze, so if you’re not sure where to start, start with Kindle Create.
Formatting Conclusions
In the end, I found formatting my eBook to be a much quicker and easier process than formatting the paperback and hardcover versions. You’ll see why in next week’s article. Months ahead of your publish date, you can set-up a pre-sales page for your eBook and pick a publish date. You do not need to upload your manuscript at this point. I recommend putting up a pre-order page early so that you can (hopefully!) get a lot of pre-sales! If you’ve done this, then there is a clear deadline for uploading your manuscript. Upload well in advanced to ensure there are no issues. In two weeks, I’ll have an article outlining the KDP submission process. If you have specific questions along the way, please comment and I’ll address them below.

2 thoughts on “Formatting Your eBook for Amazon’s KDP”
Comments are closed.