In a couple of weeks, I’ll be releasing an audiobook version of my book, Agile Discovery & Delivery. I wanted to narrate it myself, but I didn’t have any experience with audio production. After a lot of research, trial, and error, I figured it out and learned a lot in the process. While recording programs like Audacity and GarageBand seem to be the most popular options, I settled on another program: Hindenburg Narrator. I have a lot of respect for the writing podcaster, Joanna Penn, and she recommended the program, so I thought I’d give it a try.
Creating an audiobook turned out to be months of work and, in my case, rework. In a multi-part blog series starting with this post, I’ll write-up the details of what I went through so that other authors can learn from my mistakes and get their projects off the ground. This article largely assumes that you’ve decided to self-record and produce your own audiobook, but haven’t yet started. Here, I’ll discuss how to get ready to record your audiobook. I’ll disclose everything from choosing the right recording software to setting up your space.
Understanding the Audiobook Process
The first step before recording is to become familiar with the requirements and tools needed to do a good job. I found Rob Dircks’ video and article to be incredibly helpful during this phase. He goes over the requirements necessary to upload to ACX (Amazon’s audiobook marketplace), how to get your studio ready, and how to record using GarageBand. I also watched this Book Launchers video and found it to be helpful as well.
Where Will You Publish your Audiobook?
Speaking of ACX, Amazon has the largest audiobook market in the world and is where most authors will publish their books first. But, you do not need to use Amazon if you don’t want to and you don’t have to exclusively publish your audiobook on Amazon. As you’re uploading your book’s files, you choose whether you want to be Amazon exclusive and enjoy a 40% royalty rate or if you’d rather be non-exclusive and receive 25%.
Today, FindAway Voices is quickly expanding its market and is the best alternative to Amazon. Primarily, it publishes to Spotify, which allows its premium members 15 hours of free audiobook listening every month. I love the idea of being able to share my book for free on Spotify, YouTube, and other places, so I chose to go non-exclusive with Amazon. For your target market, you may or may not need to make a different choice.
If you’re going with ACX, they would love for you to use their own narrators, who will professionally produce your book. To do this, it costs between $150-$250 per finished hour. If you’re in the United States, you can instead have your book read by AI and published. This came out after I’d started my own recording, but, honestly, if I had to do this again, I’d take a close look at AI narration. Narrating a book and producing it yourself can be an extremely tedious process! But, I’m living proof that you don’t have to do either of those things, you really can do this yourself. Just make sure you understand the technical requirements of the platform you’re using before you begin!
Audiobook Recording Software Options
It seems that there are two main options for recording audio and both are free: Audacity and GarageBand. Most people use one of these options when recording. I quickly eliminated GarageBand for a couple of reasons. First, I’d read a few articles saying that it was more complicated than Audacity. Some people really loved GarageBand and some tried it and quickly changed software. My second reason for eliminating GarageBand early was that I’d used Audacity many, many years before and remembered getting the hang of it fairly quickly.
Audacity
Audacity seems to be what most people use these days to record podcasts and audiobooks. That can be helpful if you hit an issue and need to find a solution online. It’s free, powerful, and fairly easy to learn. You can record and edit in the same place. I talked to an audio student on UW-Madison’s campus to ask him a few questions before I began and he told me that I should use Audacity. What Audacity doesn’t do is auto-level your book throughout and export specifically for ACX or Findaway Voices. So, that brought me to the program I ended up using: Hindenburg Narrator.
Hindenburg Narrator
Hindenburg Narrator (which, by the way, is a terrible name for anything you want to portray as being successful) was built specifically for recording audiobooks. The company has a couple of other products for podcasters and true professional recorders. For my liking, Hindenburg Narrator covered everything I need to finish my audiobook. (And, by the way, I’m not connected with Hindenburg and they are not paying me to write this series of blog posts. This is simply what I used and how I used it.)
Narrator is a paid program which costs around $16 USD per month. You can use it for a month for free and you can get a better rate by paying for the whole year. So, you might wonder, what made it worth paying for when Audacity is free?
Well, I knew nothing about recording, editing, and exporting my audiobook. Narrator tries to make those processes as easy as possible. If I were using Audacity, I may have had to work with an audio engineer to get my set-up exactly right. Hindenburg aims to make it so you don’t need an audio engineer. They have auto-leveling so that your whole book sounds uniform. They also have ACX and Findaway Voices export options where the export takes care of breaking your book into Chapters and turning them into files you can upload straight to either platform. Before export, it will check your files for common problems and point them out. Narrator also brings up your audiobook script and matches it with your recording so you always have the audio and the printed words synced up.
I liked those features. I was happy to pay a little money for an easier option. In the end, I downloaded both Audacity and Hindenburg to test them. After about an hour of testing each, I chose Hindenburg. While I am relatively happy with my choice, there were some bumps along the way. I’ll be talking about those throughout this blog series.
Creating or Finding Your Recording Space
Now that I’d chosen my software, I needed to either create or find a suitable recording space. It’s really important that you find a space that is as quiet as possible. Most microphones will pick up any and all noises you create from the weird way you smack your lips and breathe to mouse clicks to your neighbor’s motorcycle. Any sounds from the next room will end up on your recording.
Finding Your Recording Space
I began by thinking that it would be easier to find a recording studio and record my book there. In Madison, where I live, there are a number of good options that weren’t as expensive as I expected. They were all around $65-$70 per hour with minimums (usually between 3 and 8 hours). Some would come with an audio engineer and some did not. Some were completely geared towards music recording and some did podcasts and audiobooks too. I wanted a space that was set-up to record audiobooks. There needs to be a place for your laptop to sit with your script and a great microphone to record with — at the very least.
We have a couple of universities in town, one of which I work for, so I also looked for a recording studio on campus. And, I found one! It was free and I could book it for an hour at a time, so I prepared to record from the on-campus studio.
The problem is, that “studio” was basically a regular room with a microphone, mixing table, and a couple of small sound dampening panels in the corner. Not only did it take me a session and a half to get hooked up to the mixing table correctly, but when I started recording, it was obvious that all of the noises from outside of the room were picked up in the recording. I had recorded the first three chapters before I figured this out. I simply could not use this space for recording.

For those of you who are audio newbies like me, this is what it looks like when you have constant room feedback on your recording. That continuous noise level all across the bottom is bad.

A cleaner recording looks like this:

Creating Your Recording Space
One of the helpful support people at Hindenburg, Nick, pointed out the noise and recommended I try recording from my own closet. As you recall, a lot of TV and radio hosts ended up moving into their closets during COVID and it worked for most of them. I do have a walk-in closet, covered in clothes and boxes, and it, luckily, has enough space for me to set-up a table for my recording. I thought it wasn’t going to be that quiet in there, so I turned off my HVAC system, covered one wall with a blanket, set-up, and tried it. It worked way better than I’d expected. I’d found my recording space.
The best option would have been to set-up sound dampening panels along all of the walls, but I made do with blankets, stacks of toilet paper packages that we already had from Costco, and my existing clothes. I’m not sure sound dampeners would have helped much. Now, I had a space I could use as often as I needed to until the project was finished.

It looks like a mess and it is, but all of that stuff helped to dampen the sound without me buying sound dampening panels.
If you’re wondering whether you can do your recording from home, just take one, long look at the above photo. If I can record surrounded by a million things I should probably declutter, so can you.
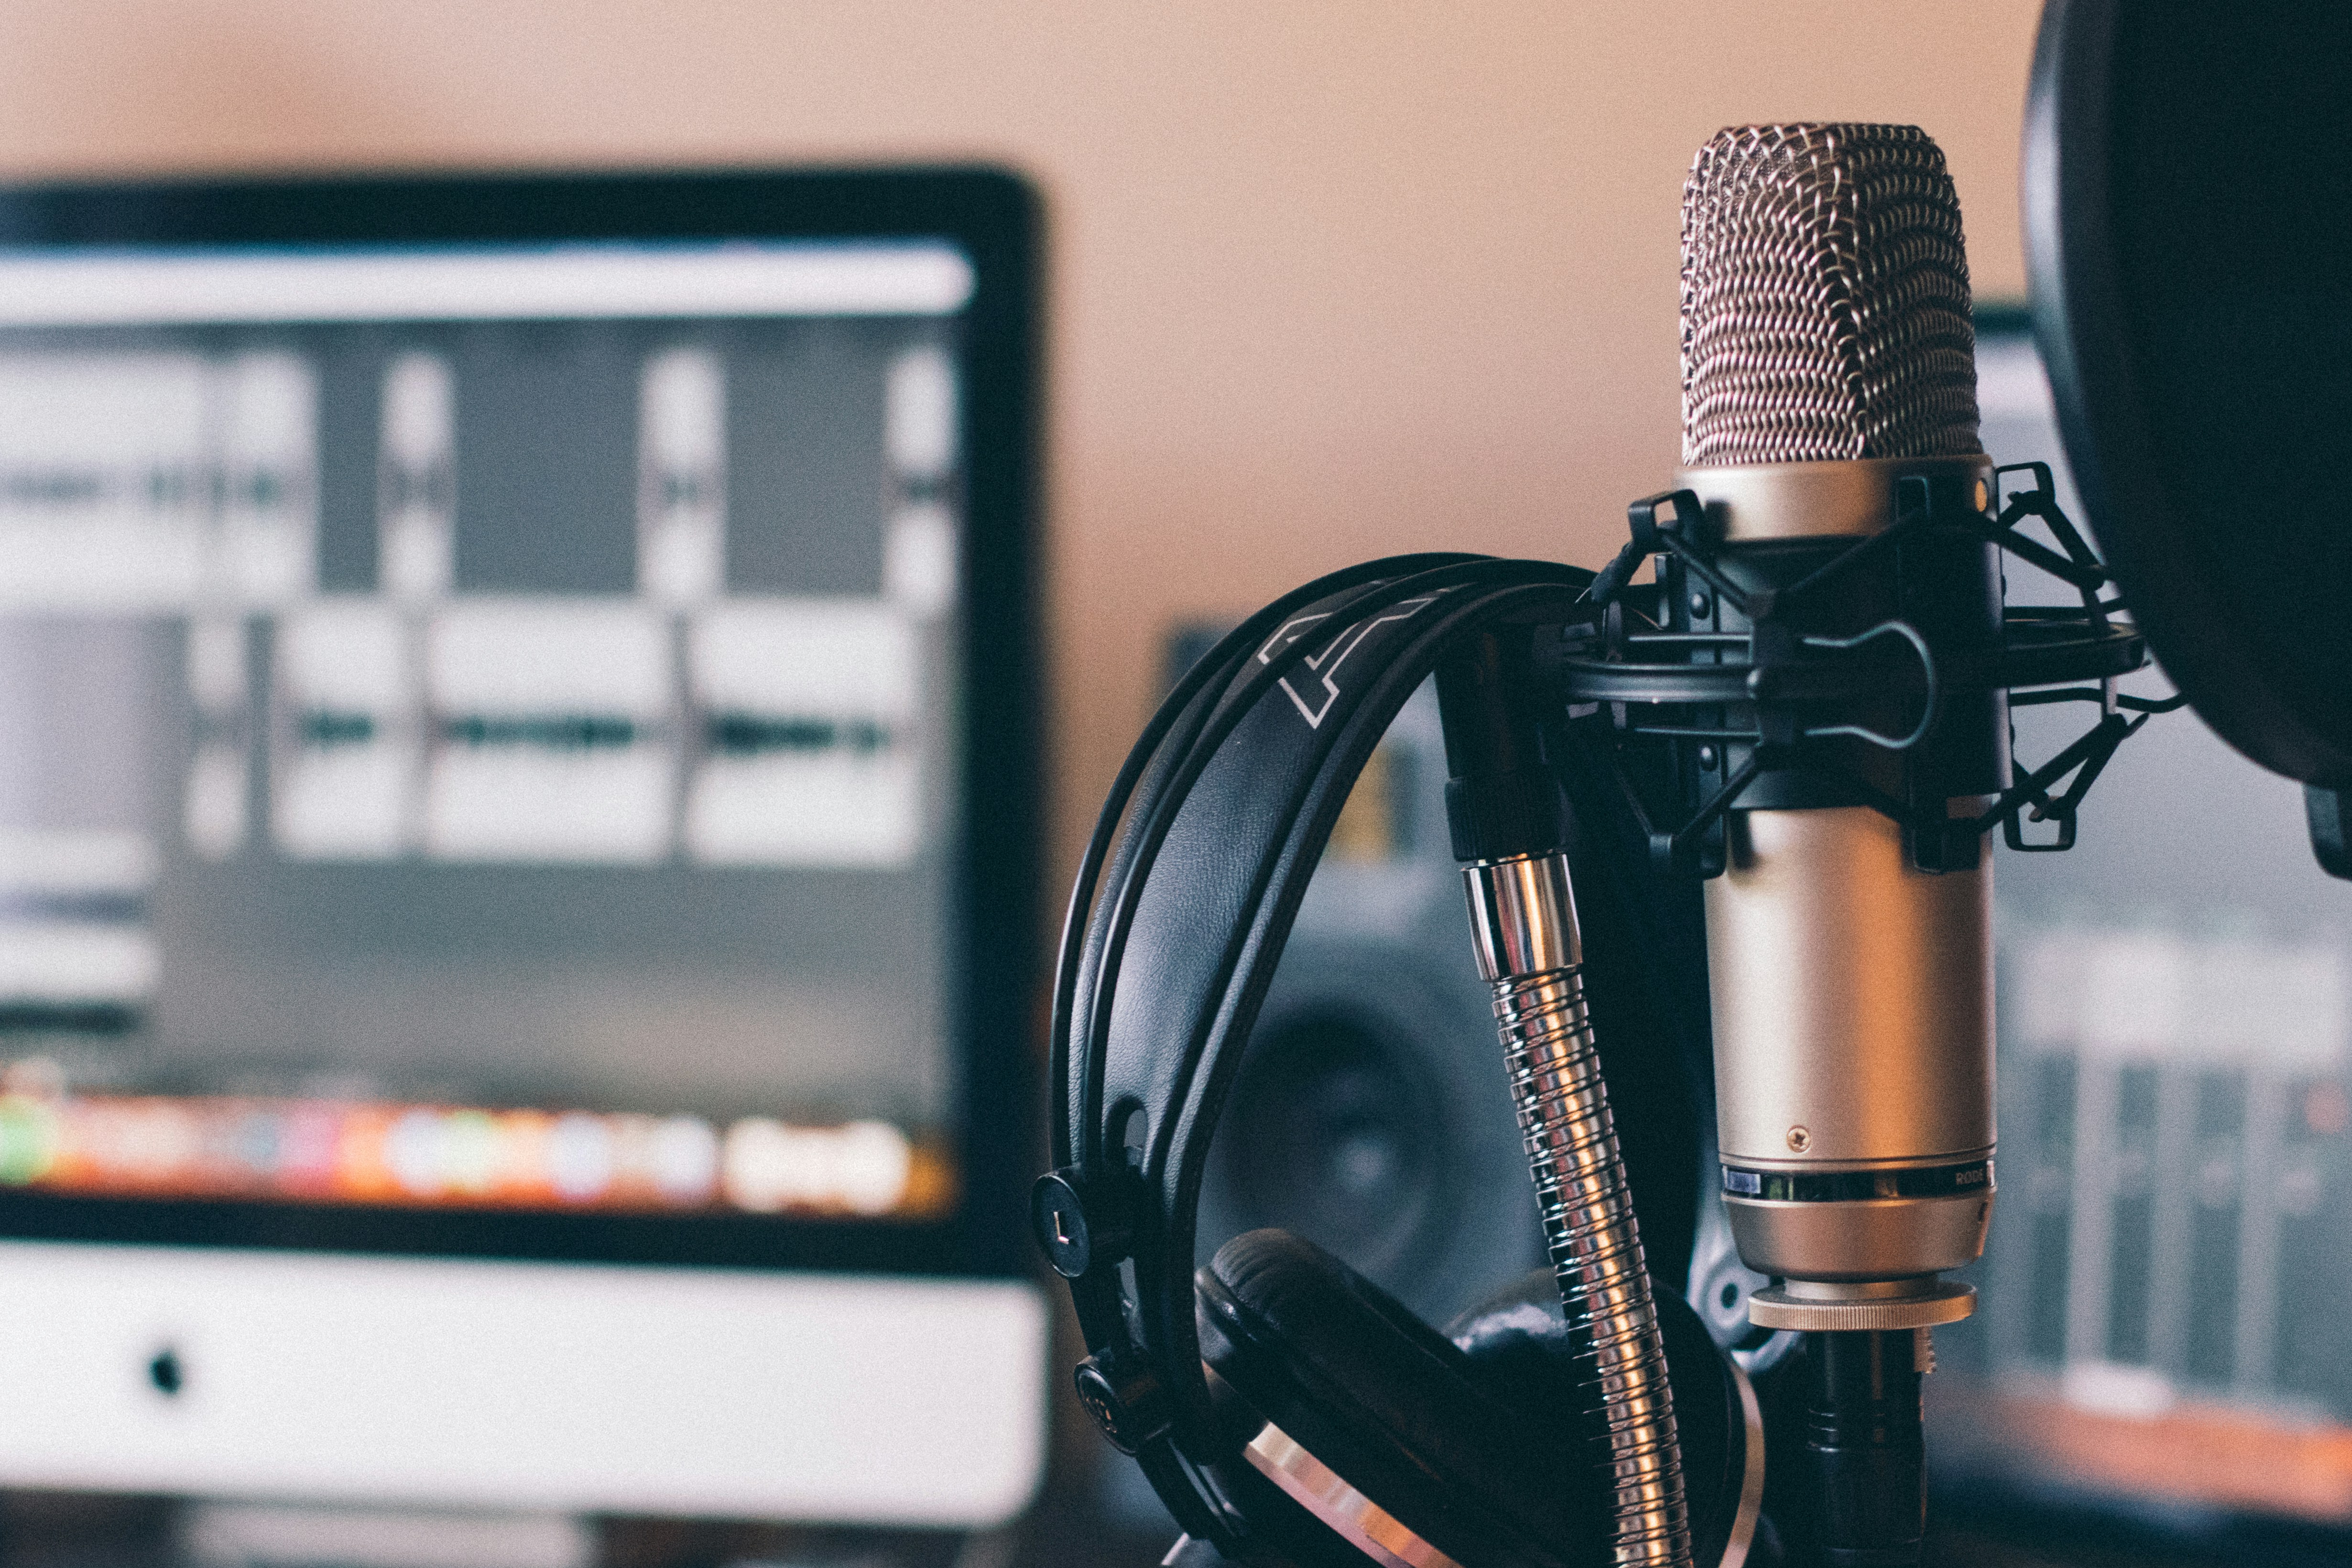
Audiobook Recording Hardware Options
You need a couple of pieces of hardware to successfully record from your house. First, you’ll need a laptop where the recording software will run and where you’ll display your script. Hindenburg Narrator takes care of both of these things for me, but if you use Audacity, you’ll need to display your script in another program. Any laptop that can run your chosen recording program will work.
You’ll also need an external microphone and headset. Get the best one possible for the money that you have. I recorded with a Blue Yeti USB microphone, which is probably better suited for podcasting or video gaming, but it worked for my first book! It costs around $100. I used the Cardioid setting, with the Gain setting turned all the way down and the microphone sitting on my table. Many people buy a boom and a pop filter to further reduce noise. I did buy a pop filter (very inexpensive, around $15), but I never had a boom. There was simply no space in my closet.
I’m told that a better choice for a microphone would be high quality Shure, Electro-Voice, or Rode brand microphones. I never wrote down the specific ones my Hindenburg support friend recommended, but I remember them being around $450.
As for headphones, you can likely use the ones you have as long as they provide you with clear sound output.
Installing Hindenburg
This was the easiest part of the whole set-up process. You can start your trial right from the Hindenburg Narrator site. You will be able to download it and start using it within minutes. I spent some time learning about the software via their handy Academy videos, but you can certainly download and start using it without the tutorials as well.
Preparing Your Audiobook Script
The last thing I did before recording was to prepare the script I used to narrate the book. First, I went through and made sure all important sections and chapters began with Header 1 type. That’s how Hindenburg knows where to break your audio files when they are exported for ACX or Findaway Voices.
Next, I added Opening Credits and Closing Credits to the script. The Opening Credits usually list the title, author, and the narrator. They can also include the book’s dedication. The Closing Credits typically repeat the title and author, give credit to whoever wrote and produced the audiobook, state the text copyright date and author, and then the audiobook copyright date and producer. If you’d like a copy of my opening and closing credits, contact me! I created mine after listening to a couple of audiobooks I already owned.
Finally, I went through and changed the wording around my images. If you don’t have any images in your book, congratulations, you don’t have to worry about this step! For me, I had plenty of images and charts that were integral to my readers’ understanding of the material. So, if there were diagrams that I needed to describe, I wrote a new paragraph about them. If there were images that I was going to include in the audiobook companion PDF, I’d state that. I actually created my entire audiobook companion PDF before recording so I could direct listeners to the exact page on which images would appear.
That’s it for audiobook recording set-up! Next week, I’ll go over the recording process I used to record my audiobook with Hindenburg.
5 thoughts on “Record An Audiobook with Hindenburg – Part I: Setting up Your Studio”
Amber this is wonderful information and just what I was looking for! Thank you for sharing! I look forward to more from you.
Great to hear it!!
Comments are closed.